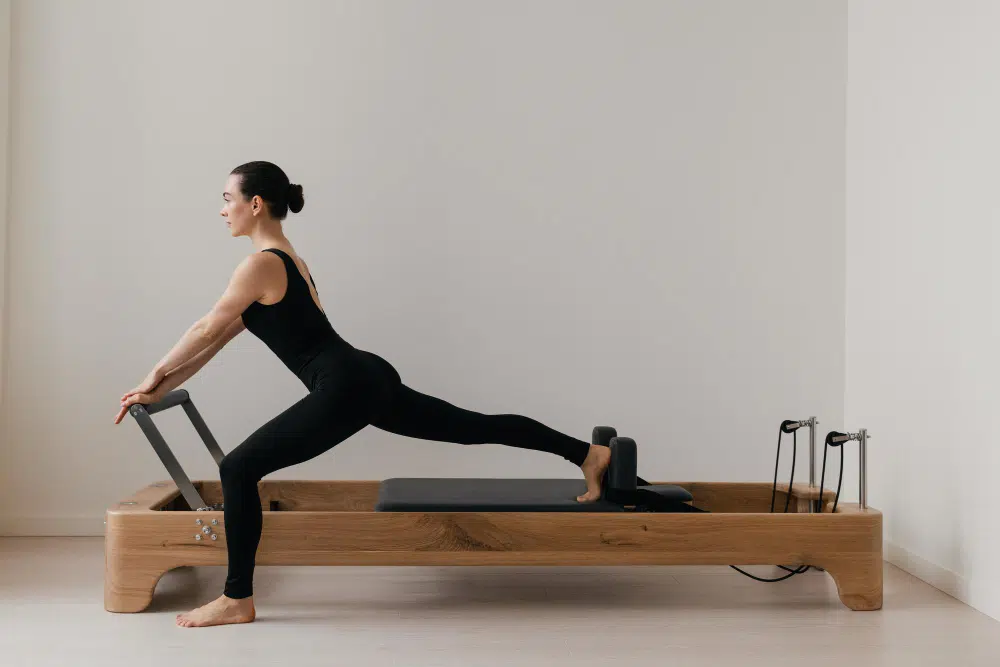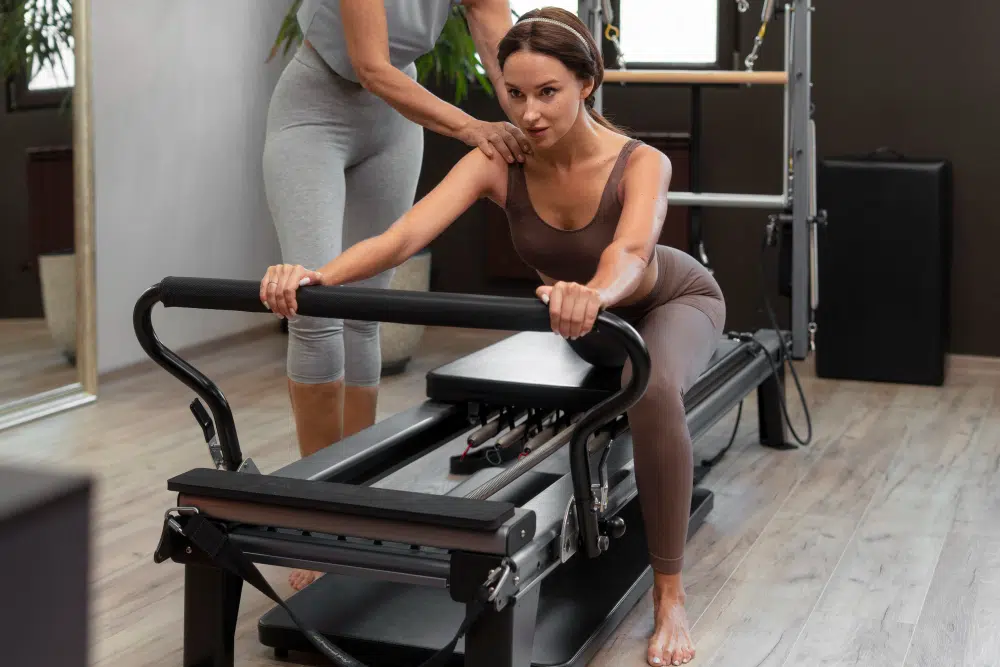

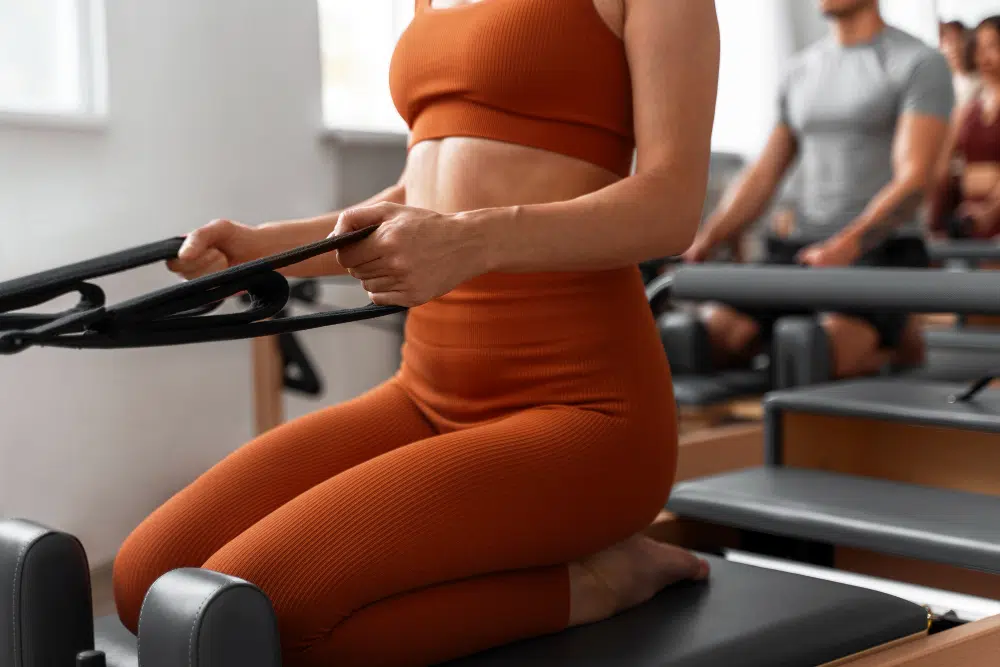
Pilates Reformer classes are booming, and now a growing number of Americans want the studio experience at home. The catch: a Reformer isn’t a yoga mat you can slide under the couch. It’s a large, spring-loaded machine that demands real floor space, the right surface underneath, and a few non-negotiable safety habits.
If you’re considering buying one, planning matters as much as the workout. Get the setup wrong and you’ll fight cramped movement, noisy sessions, or a machine that shifts when it shouldn’t. Get it right and you’ll have a home setup that feels smooth, stable, and safe, whether you’re a beginner or you’ve been doing Reformers for years.
How much space you really need for a Reformer
Start with the basics: a typical Reformer is roughly 8 feet long and about 28 inches wide. But the machine’s footprint is only the beginning. You also need clearance around it so you can extend your arms and legs fully, mount and dismount safely, and use accessories like a box without banging into furniture.
A practical minimum setup for most standard Reformers is about 12 feet 2 inches long by 6 feet 5 inches wide, once you add safety clearance. That means a spare bedroom, finished basement area, or a cleared-out corner of a large living room is usually a better fit than a tight apartment layout.
Minimum clearances: the “don’t-crash-into-the-wall” measurements
Here’s what most at-home setups should plan for during use:
Length:Add at least 24 inches of clearance at both the head and foot ends. That brings the total length you’ll want to roughly 12 feet 2 inches.
Width:Keep at least 24 inches clear on each side so you can step on and off and move laterally. That brings the total width to about 6 feet 5 inches.
Ceiling height:If your Reformer includes (or could later add) a tower/Cadillac-style frame, ceiling height becomes a dealbreaker. Plan for roughly 7 feet 7 inches to 8 feet of clearance to avoid limiting overhead or vertical movements.
If you can give yourself more room than the minimum, do it. Pilates is all about controlled range of motion, tight quarters work against that.
Small space? A folding Reformer can solve storage, just not workout clearance
If you live in a smaller home or apartment, folding Reformers can be a smart compromise. They’re designed to store upright or slide under a bed, and many come with wheels so you can roll them out for a session and tuck them away afterward.
What they don’t change: the space you need while you’re actually using the machine. Folding models help with storage, not the clearance required for safe movement.
The best flooring for a home Reformer setup
Your floor matters more than most people expect. A Reformer creates shifting forces as the carriage glides and springs load and unload. Put it on the wrong surface and you can end up with wobble, extra noise, or damage to your flooring.
The ideal surface is flat, hard, and stable, think hardwood, tile, laminate, or sealed concrete. Avoid thick area rugs or plush carpet that can compress unevenly and make the machine feel unstable. If your floor isn’t perfectly level, some Reformers have adjustable feet to help compensate for minor unevenness.
Protect the floor, and make the ride quieter
Even on a hard surface, a dense protective mat is a good idea. It helps prevent scratches and dents, reduces vibration, and can cut down on the mechanical noise that travels through floors, especially important if you’re in a condo or apartment with neighbors below.
Look for a heavy-duty rubber mat or high-density foam that can handle the machine’s weight and won’t slide. Ideally, it should cover the full footprint of the Reformer and the areas where you’ll step on and off.
How to reduce noise and vibration (especially in apartments)
Reformer Pilates is low-impact, but it isn’t silent. The carriage rolling, springs moving, and straps shifting can add up, particularly in older buildings with thin walls and creaky floors.
A thick mat helps, but maintenance matters too. Keeping wheels/rollers clean and properly lubricated (per the manufacturer’s instructions) and periodically checking bolts and fasteners can prevent squeaks and rattles. If possible, set up away from shared walls, or consider basic sound-dampening options in the room.
Reformer safety at home: the non-negotiables
A Reformer is designed to be safe, but it’s still a resistance machine powered by springs. At home, you don’t have an instructor scanning the equipment before class or correcting a risky setup mid-move. That makes your pre-session routine critical.
Rule one: never push through sharp pain, and don’t guess on form for advanced moves. If you’re new, a few sessions with a certified instructor, either in person or via a reputable virtual setup, can prevent bad habits and reduce injury risk.
Do this quick check before every session
Take 30 seconds before you step on:
Springs:Confirm they’re properly hooked, set to the resistance you intend, and not bent or damaged.
Straps and ropes:Look for fraying, wear, or loose attachments.
Carriage:Make sure it glides smoothly and nothing is blocking the rails.
Headrest and shoulder blocks:Check they’re secure and positioned correctly for your body.
Overall stability:Give the machine a gentle test, no rocking, no shifting.
Start simple, then build, don’t “max out” on day one
The Reformer’s versatility is the whole appeal, but it can also tempt people into doing too much too soon. Beginners should prioritize control, alignment, and breathing over heavy spring resistance or complicated transitions.
More experienced users can use home access to fine-tune programming, targeting core strength, mobility, or rehab-style stability work, but the same principle applies: clean execution beats intensity every time.
What to wear (yes, it matters)
Skip anything baggy that could catch on moving parts. Fitted, flexible workout clothes are safer and make it easier to track alignment.
Grip socks are a common choice for Reformers because they reduce slipping on the carriage or footbar, especially once sweat makes surfaces slick.
Where to put it: light, airflow, and a setup you’ll actually use
Once the measurements and flooring are handled, think about what makes you want to show up. Natural light helps. So does decent ventilation, Pilates can be controlled, but it’s still work.
If you can place the Reformer near a window, great. If not, aim for comfortable lighting that doesn’t glare, plus airflow from a window, fan, or air purifier. A calm, uncluttered corner can make the difference between “I’ll do it tomorrow” and a consistent routine.
The bottom line: plan the space like you’re building a mini studio
Bringing a Pilates Reformer home can be, but only if you treat the setup like a real piece of fitness equipment, not furniture. Plan for roughly 12 feet by 6.5 feet of usable space, prioritize a flat hard floor with a dense mat, and build a quick safety check into every session.
Do that, and you’re not just buying a machine, you’re creating a home practice that’s easier to stick with, safer to progress in, and far closer to what you’d get in a studio.